When Prints are Darker than the Display
By John Walrath
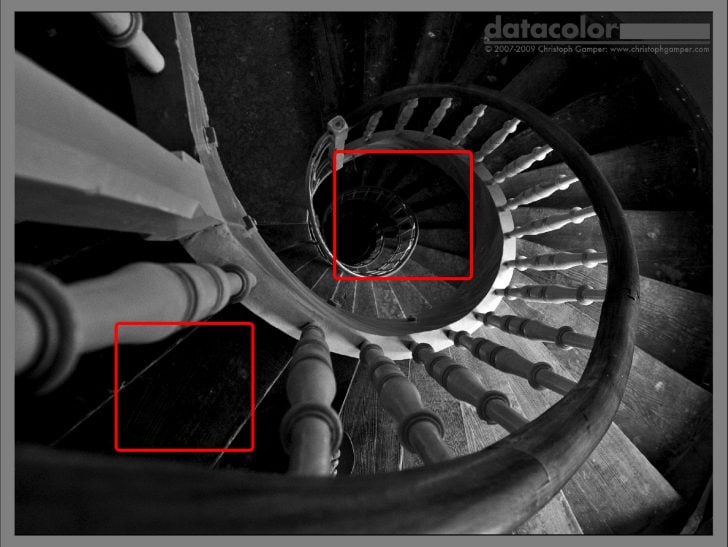
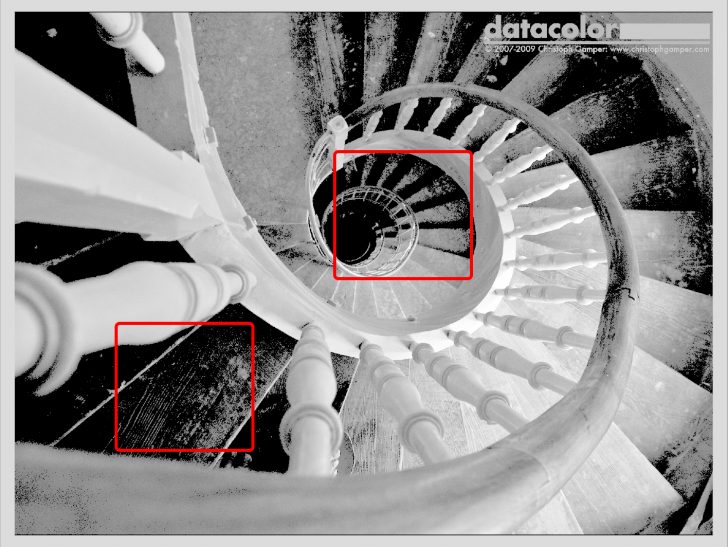
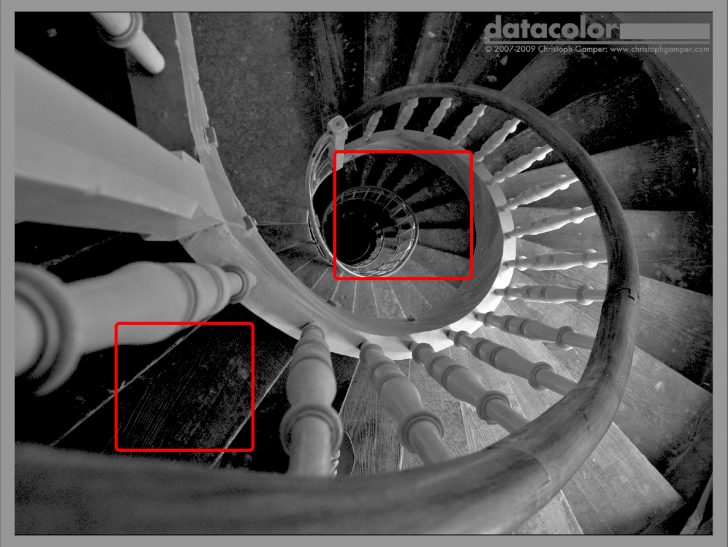
If your print seems too dark, this is an issue with the brightness, or luminance, of your display. Controlling the luminance of your display and the brightness of your working environment is essential to achieve the best consistency from screen to print. It’s important to note that dark prints can also make it seem like color is incorrect in the final print.
For a well calibrated display for photo editing and printing, you will need to adjust the luminance to a specified range of 100-120 cd/m2. The Spyder5PRO and Spyder5ELITE can make these corrections. At first, this luminance setting can seem rather dim but with the proper lighting in your work area it will seem natural.
The lighting in your room should be fairly subdued for 100-120 cd/m2 to be a comfortable luminance setting. A good rule of thumb is your monitor should be the brightest light source in your room. A monitor hood is advised if you can’t adjust the lighting in your workspace.
A luminance of 100-120 cd/m2 is the recommended range because it offers a good balance between what you see on a display and the image in print. Going above 120 cd/m2 will generally artificially brighten your image. If your image is artificially brightened, it will make it more difficult to accurately evaluate the exposure of your image in print. Left uncorrected, the result will be a print that appears too dark.
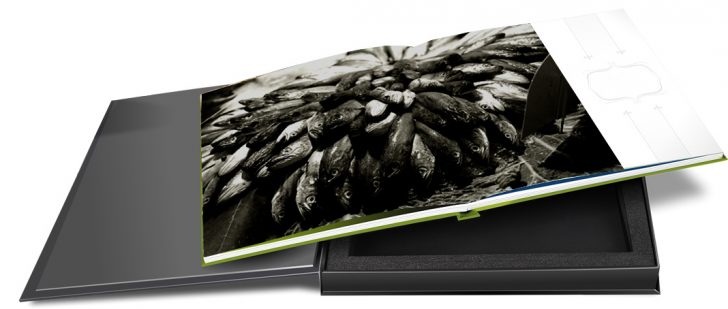
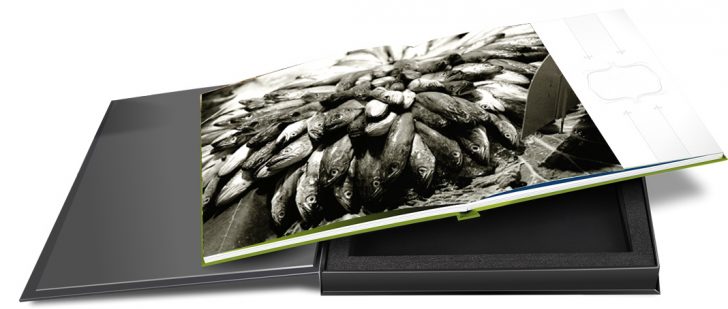
Achieving consistency from screen to print depends heavily on your display’s calibration settings. But, the paper, the printer and the quality of the paper profile for the paper/printer combination are very important too. To be certain and have the best quality paper profile for your printer, it is advisable to create your own profile with a product like SpyderPRINT.
It is important to view your print with a sufficient amount and color temperature of light. We recommend that you illuminate your print directly with a daylight balanced bulb to evaluate. You should also allow a print to dry 10-15 minutes for final evaluation.
The goal of calibration is to correct your display to remove any bias from your display and provide an accurate view into your digital world. If you need to unnaturally alter your image on your display so it looks good in print, you end up wasting time, ink and paper to get a satisfactory print. Calibration can provide a what-you-see-is-what-you-get workflow.
*Purchases include a complimentary 3-month Adobe Creative Cloud Photography Plan membership. Membership will be sent upon activation of your Spyder device.


