I was fortunate enough to get a photo pass to shoot a rock concert in my area.
I am not a pro photog by any stretch, but the chance to marry up my two great interests (music + photography) was too good to pass up. I've attached my really crude 101-level experience and lessons learned from the activity. I welcome the concert vets to straighten me out if I've come away with the wrong learnings.
Gear selection
Shooting up front
I got to the stage before the set and one of the organizers was on stage. I flagged him down and he explained the classic thing I've read about:
Camera Settings
Composition lessons learned
Output / post-processing (note I'm somewhat odd in that I just use PS's Adobe Camera RAW instead of LR, Aperture, DXO, etc.)
Please set me straight if I've misinterpreted the concert shooting experience with my statements above. There may be a vital trick I am missing.
Thanks for your thoughts!
- A
I am not a pro photog by any stretch, but the chance to marry up my two great interests (music + photography) was too good to pass up. I've attached my really crude 101-level experience and lessons learned from the activity. I welcome the concert vets to straighten me out if I've come away with the wrong learnings.
Gear selection
- Faster wins. Unless you are shooting a daytime outdoor show, you will 95% of the time be shooting close to wide open to avoid ISO values above 6400. Faster glass will let you walk that back to 3200, 1600, etc. depending on the light.
- Closer wins. Shorter focal lengths handle longer shutter speeds better. The golden rule of a maximum shutter of 1 divided by focal length is about right. So a 50mm lens can get by with a 1/50s shutter, but a 200mm lens will need a 1/200s shutter, which often will require disastrous ISO levels.
- So it's no surprise that I rarely see large sports glass off on the wings of concerts in large venues. I don't think I've ever seen anything longer than an 70-300L at Coachella once the sun goes gown. Most everyone I see in concert photo pits is carrying some sort of ultrawide (fishbowl, 14 prime, 16-35, etc.) and either a standard zoom (24-70 or 24-105) or prime (the 50 F/1.2 and the 135 F/2 are a regular sight). Some folks pack the 70-200 as well.
- I recognize this point (closer = better) completely dismisses the value of different glass for framing and composition, but if you want a sharp shot in this light, you have to make tradeoffs, right?
- Also, your proximity to the stage, the size of the stage, etc. will drive the lengths you need.
- What I brought and what I used it for:
- Body = 5D3. Not a selection issue for me as the alternative was my old T1i.
- 28mm F/2.8 IS. Not super quick, but IS on such a wide angle is super useful in the dark. Used for wide shots up close at the stage (two guitarists in frame together, wide stage shot, etc.) as well as venue shots from the sidelines. Used it 5% of the night. More about that later.
- 50mm F/1.4. This is my staple low light tool, but I noticed that it was front-focusing when I was setting up prior to the band coming out, and I didn't want to have to use MF. It stayed in my bag until late in the night for some balcony shots as a result. Used it for about 5% as well. Need to set the AFMA on that and get it sorted.
- 70-200 F/2.8 IS II. A flagship sports / photojournalist / wedding lens, but F/2.8 is not ideal for concert lighting. That said, there aren't many faster options at this length (other than the impressive 135mm F/2 and the comically large (but equally impressive) 200mm F/2). Though I was planning on using the 50mm most of the night, I ended up using this 90% of the time. It fared better than expected on focusing in low light, but the concerns of length vs. shutter speed needs obviously came up, so the ISO had to climb. The 70mm end was not wide enough just a handful of times, but I made do.
Shooting up front
I got to the stage before the set and one of the organizers was on stage. I flagged him down and he explained the classic thing I've read about:
- I had fifteen minutes stage access, i.e. right at the stage (in front). This is often phrased as being for three songs, but being a prog rock show, that could be 90 minutes. So, for this show, it was stated as '15 minutes'. Then I'd have to skedaddle.
- No flash, of course.
- No video, of course.
- In that first 15 minutes, my head had to stay below the level of the stage, i.e. on my rear-end or kneeling. Thais was not a traditional pit -- it was a four foot stage at a concert hall.
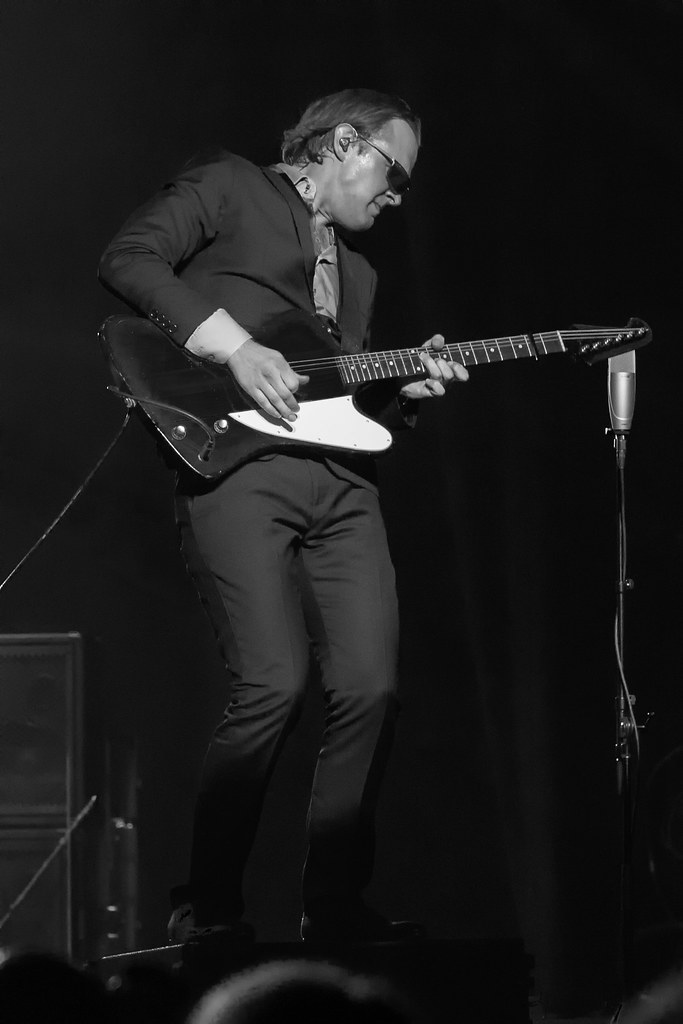
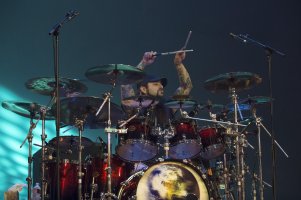
- This ended up greatly limiting my framing. I was limited to waist up shots of the players for the most part, and shooting the drum kit was simply not happening without framing out the bottom 30% of the kit (the drum risers were not particularly high at this event).
- This requirement effectively killed the up close / wide opportunity of the 28mm lens. I had the awful choice of 1/3 of the VF being blocked by the stage or my two rocking guitarists being stuck in the bottom corners of a wide shot (not a good look, even after perspective correction).
- For this show in particular, I could not mill about the aisles to shoot after the first fifteen minutes (house rules about blocking view or people leaving for the restrooms).
Camera Settings
- RAW only. Say this ten times. I didn't even bother with the JPG + RAW as my card was rather full already. With ISO 3200+ and with crazily shifting lighting, RAW is really the only way to go anyway. JPG is useful for some shooting needs, but here, RAW is the best call.
- Mode: I believe that Av, Tv and M all work (as always) provided you keep an eye on what you are not prioritizing. As a creature of habit, I shot aperture priority, but I was constantly working the triangle of Ap / shutter / ISO to get the best possible balance I could. Call it 'manual shooting with metering for better exposure'.
- Default setting was wide open or perhaps 1/3 - 2/3 stop narrower, ISO 6400 (3200 with the fast primes, perhaps). ISO and aperture adjusted to get a more desirable shutter speed. Exposure was generally a shade under normal (like -1/3 or -2/3 EV) as you don't necessarily want the background fully exposed (your subject will be too bright).
- Standard (evaluative) metering -- I didn't need to mess with it at this event as the lighting was decent enough. (Spot metering has been a prior call in some dark caves I've shot in the past.)
- One shot focusing. It's the most accurate unless you want to capture a burst of some David Lee Roth jump kicks (and the house lights are on). This was not that kind of show at all.
- Single point AF or the very small plus-shaped point cluster AF. AF worked really well that night. Lighting was decent. Darker lighting + less modern AF glass = AF will hunt and you will miss shots.
- Focused and then reframed on the wide glass (those are more DOF forgiving), but largely moved my AF point to the subject in the desired framing for the longer zoom I was using.
Composition lessons learned
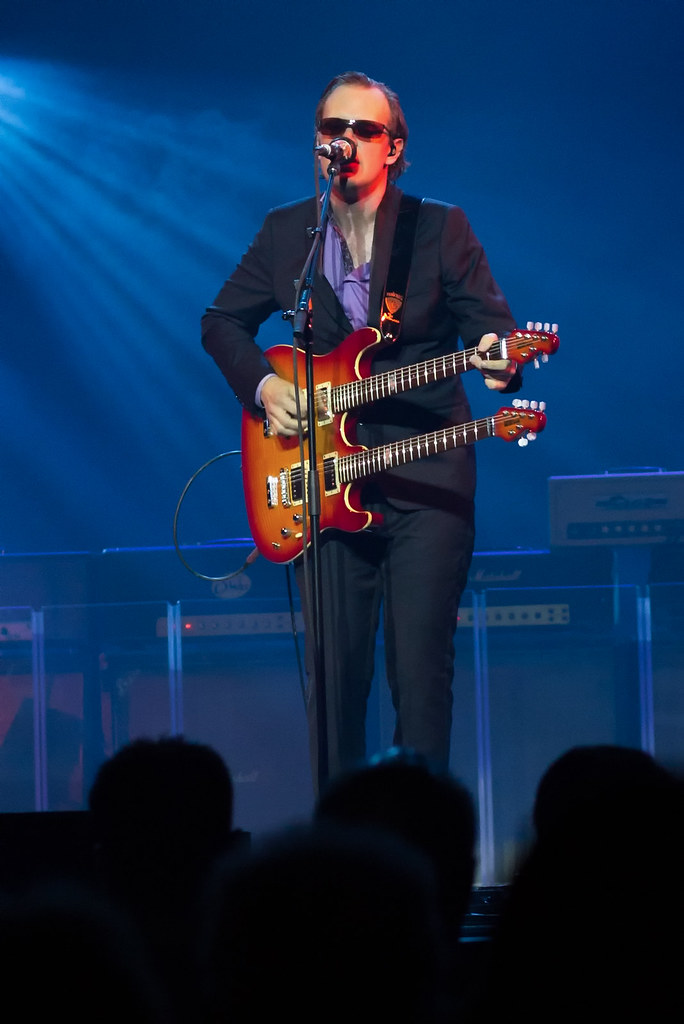
- Obvious, but must be restated -- shooting nearly fully open has a tiny working DOF. F/1.4 - F/2 on the 50 prime is fine for a single subject, but if you want more than one musician in the frame, I had to do one of the following:
- Stop the aperture down to F/5.6 - F/8, which usually meant increasing the ISO even further (i.e. 8000+)
- Wait for the two musicians to be about the same distance away. That happens less often than you'd like.
- Wait for the house lights to come up.
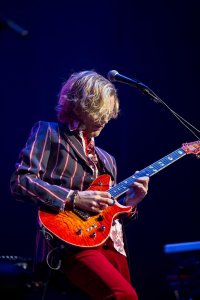
- Get further away, like on the balcony. Larger distance = larger working DOF for a given aperture.
- Move your feet. Unless you know a band very well, your principal subject might not be where you want them to be.
- Keyboards, mic stands can interrupt your framing, look unattractive, etc. Again, move your feet.
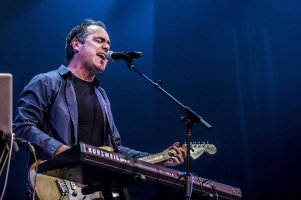
- Knowing the songs really helps. With an emotive frontman or musician, if you know when the hook drops or the solo starts, you can time your shots for a rock face, fist pump, gospel arms, etc.
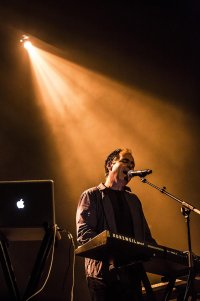
- Don't forget the stage lighting. Try to frame up the subject against a stage spotlight, or possibly just shoot the band member as a black silhouette in a field of color. (Need to do that more next time.)
Output / post-processing (note I'm somewhat odd in that I just use PS's Adobe Camera RAW instead of LR, Aperture, DXO, etc.)
- Skintones are flat and tough looking at these high ISO settings, even on my great low light rig. Extreme care has to be taken to avoid saturating skin tones in post processing, or your rock star looks like he spent a week in a tanning bed. Also, software that avoids oversaturating skin tones can often fail as the stage lighting (if you didn't back it out with RAW WB processing) pulls the skin tone out of 'skin tone range'. I need to do selective color editing in post, but I never do. More work than I'd like. I just did macroscopic RAW adjustments like vibrance and saturation, but at a fraction of what I'd normally do for the aforementioned skin tone reason.
- White balance management is great with RAW, but I don't know if the goal is to subtract out the lighting tint on the subject or if I want to capture that as part of the composition. I can do either, but I wasn't sure which to do.
- Noise reduction is unfortunately necessary as the ISOs are high. I generally hate what this does to details, so I do it sparingly.
- Sharpness adjustments in RAW processing are a staple adjustment usually, but with low light it amplifies the noise. So I generally did less sharpening to limit the noise reduction needed.
Please set me straight if I've misinterpreted the concert shooting experience with my statements above. There may be a vital trick I am missing.
Thanks for your thoughts!
- A
")