Cory said:Would anyone mind presenting their "sunset" techniques/settings while I put my jaw back into its joints.
Thanks much.
Hi, I wouldn't go so far as to say there are any specific "sunset techniques" as much as there are general photographic techniques. It's basically the same as photographing a lot of other landscape stuff; decide on how much DOF you want, what to expose for, composition and mood, then press the trigger..
Now that's simplifying it a lot.
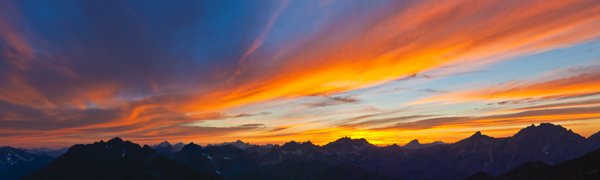
Especially in shooting things like sunset, sunrises etc. one of the more difficult things to deal with is contrast.
Compromises would often have to be made, but there are things that can help.
ISO, shutter speed, f-stop. These basically decide the exposure, based on what the camera typically wants to expose for; a medium gray exposure. especially when shooting handheld, or if you don't want motion artifacts in your shots then compromises in either would have to be made.
As I said dealing with contrasts in these types of shots is often essential.
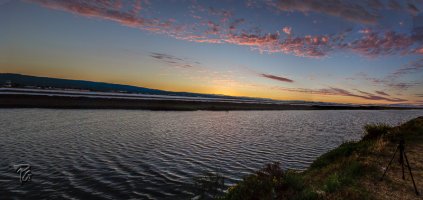
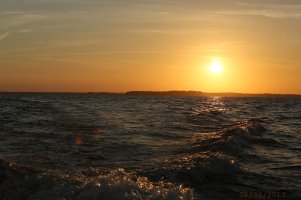
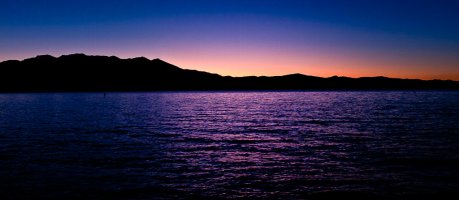
Typically the sky will be blindingly hot and burnt out if you want to preserve details of the scenery.
Multiple exposures and a lot of fiddling in PS, the Gimp or LR can bring those back under control, but not always.
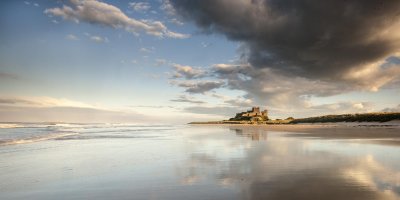
ND grad filters, of various densities (loss of stops) are in my opinion essential tools to bring the contrast between sky and land under control.
There are various makes and densities of ND grads, Lee, Hitec, Cookin are a few of the makers.
Cokin, which I've stuck to most (price and availability in Norway) are cheap and does the job well. But as far as I can see they offer just grads that are linear, where the slope of the density increase (loss of light) is linear across the filter. The other makers offer reverse grads (I've just received a Hitec one I'm looking forward to try. These are darker around the middle of the frame, perfect to bring the horizon under control before gradually sloping off towards the "top"
Also the other makers offer ND grads that have a more defined edge (steeper slope) in the middle. (hard edge they are referred to)
Anyway, meter the sky and landscape to settle on how many stops difference there are, then settle for one that evens out the contrast as you want it. (though don't overdo it, naturally our eyes expect the sky in such situations to be brighter than the landscape.)
In use, either get a filter holder or just hold it in front of the lens, then slide it up and down to get the right effect. (remove the lens hood)
If you are shooting with a tripod I often tend to use manual exposure in combination with my 7D's live view and exp. simulation modes. This will give you the effect immediately. Slide up or down, pick a different filter, or filters to stack until you are satisfied.
If you overdo stacking of the filters, at least with my Cokins, an often undesired color cast can be introduced where the filtering effect is the strongest.
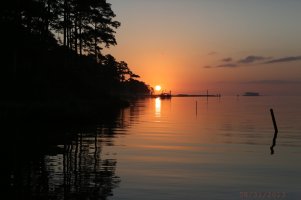
One problem with ND grads is if you are shooting a landscape with lots of detail on the sides of the frame, like trees, mountains as seen from a valley etc. (I'm from Norway, mountains and valleys are very prominent here..) These features will then shot a distinct linear darkening that reveals the use of an ND grad, but this can be fixed either by multiple exposures, flash (think trees, not mountain sides) or some selective dodging or burning.
If you look in my flick stream, I've added comments to a lot of my recent images on filter usage. http://www.flickr.com/photos/trondstromme/
Upvote
0


")