For a little over a year now I have been searching for a good optical snoot for my studio flash heads. I have tried and tested a range of optical snoots and have been generally very disappointed with their optical quality.
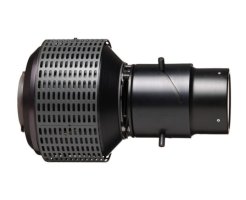
The US$3000 Broncolor Optical Spot attachment was the one I had the most hope for.
Very sadly it had the worst optical quality of all. The ‘shadows’ it created through it’s projection weren’t true shadows at all. Darker than the main beam, but you could clearly see the hard light from the projector hitting the subject. This ultimately defeats the purpose of using such an attachment for creative beauty shoots (my intended use). As the shadows were ‘tainted’ for lack of a better word. There was also quite a bit of chromatic aberration. And light spilt out all around the edges of the beam. Essentially this extremely expensive attachment proved useless except for use as a background pattern projector.

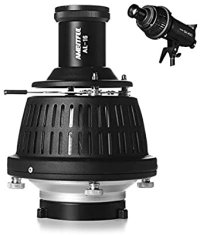
The next one I tried was much cheaper and something I found on EBay. AU$300.

Unfortunately the beam of this attachment was very dark, heavily vignetting and I was unable to create any sharp edges with a gobo or cutters. It may work well with other flash brands, but I returned it as it just didn’t work as advertised with the Broncolor.
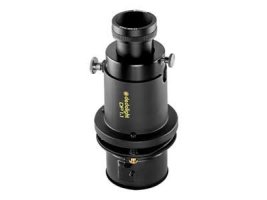
After all of this disappointment, I decided to do what others have done and try to create my own DIY optical spot attachment with some tried and true optics that I know would create a clean beam, and true, sharp shadow lines. This lead me to the Dedolight DP1.1

This projection attachment is essentially perfect optically speaking. Almost 0 CA, very sharp shadows, good light transmission, lightweight and well made. No complaints.
Luckily the diametre of the bottom end of this projector is 76mm (3”) which is perfectly the same as the top end of the Broncolor Snoot.

So now all I needed was a way to attach the two of them together. The answer was some 3 1/8“ high temp silicone hose with hose clamps to secure everything in place. The silicone was a perfect fit over the second ‘rib’ of the broncolor snoot and could be pushed over the complete end portion of the Dedolight projector creating a very tight secure fit with no drooping etc.
Here is the end result:

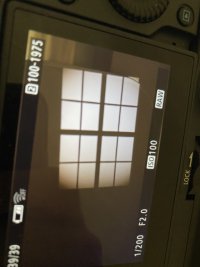
I am currently using the frosted glass dome on the flash head but no other diffusion on the end of the snoot. This gives the projected image some vignetting.. but should be easy enough to correct with a few tweaks... here is a quick and dirty test result:

True shadows, and quite sharp! Finally good enough for some creative beauty photography using sharp shadow lines etc.
The US$3000 Broncolor Optical Spot attachment was the one I had the most hope for.
Very sadly it had the worst optical quality of all. The ‘shadows’ it created through it’s projection weren’t true shadows at all. Darker than the main beam, but you could clearly see the hard light from the projector hitting the subject. This ultimately defeats the purpose of using such an attachment for creative beauty shoots (my intended use). As the shadows were ‘tainted’ for lack of a better word. There was also quite a bit of chromatic aberration. And light spilt out all around the edges of the beam. Essentially this extremely expensive attachment proved useless except for use as a background pattern projector.

The next one I tried was much cheaper and something I found on EBay. AU$300.

Unfortunately the beam of this attachment was very dark, heavily vignetting and I was unable to create any sharp edges with a gobo or cutters. It may work well with other flash brands, but I returned it as it just didn’t work as advertised with the Broncolor.
After all of this disappointment, I decided to do what others have done and try to create my own DIY optical spot attachment with some tried and true optics that I know would create a clean beam, and true, sharp shadow lines. This lead me to the Dedolight DP1.1

This projection attachment is essentially perfect optically speaking. Almost 0 CA, very sharp shadows, good light transmission, lightweight and well made. No complaints.
Luckily the diametre of the bottom end of this projector is 76mm (3”) which is perfectly the same as the top end of the Broncolor Snoot.

So now all I needed was a way to attach the two of them together. The answer was some 3 1/8“ high temp silicone hose with hose clamps to secure everything in place. The silicone was a perfect fit over the second ‘rib’ of the broncolor snoot and could be pushed over the complete end portion of the Dedolight projector creating a very tight secure fit with no drooping etc.
Here is the end result:

I am currently using the frosted glass dome on the flash head but no other diffusion on the end of the snoot. This gives the projected image some vignetting.. but should be easy enough to correct with a few tweaks... here is a quick and dirty test result:

True shadows, and quite sharp! Finally good enough for some creative beauty photography using sharp shadow lines etc.
