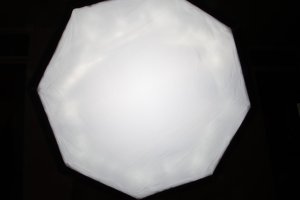
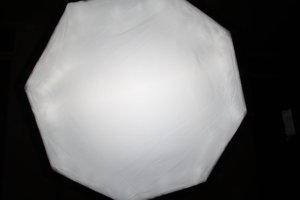
I decided to try and see what happened if I modified the brilliant Yongnuo YN-560 III to bare bulb. End result was interesting, large modifiers are better filled and amount of light has increased by between 1/3 to 1/2 stop depending on modifier (bigger effect in softbox than brolly). Light has also turned a bit cooler as one of the fresnel lenses is slightly warming. The quality of light seemed a little better with less of a central hot spot and somewhat softer in a softbox and a fair bit harder in my PLM knock off (hobo lighting 163cm parabolic silver umbrella). I wonder if this is because there was less light spillage around the umbrella bouncing off the small room I was testing it in.
Now for pictures (first is clicky for all the pictures in the series):
 Bare bulb modyfiying the Yongnuo YN-560 III flash
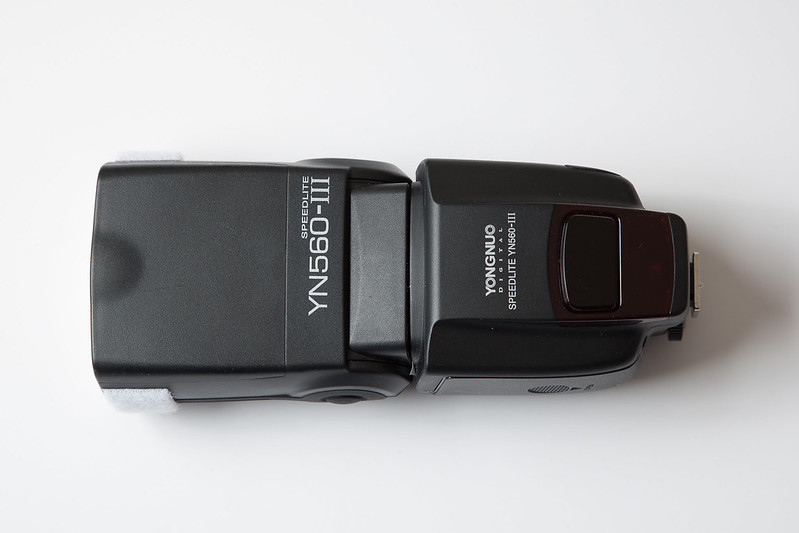
The flash before modding it. Please be aware that you could potentially electrocute yourself doing this if you don't know how to make sure the capacitor is empty. You could obviously ruin your flash as well, don't blame me in either case.

Taking off the side strips of rubber and metal clamps holding it in place


Completely disassembled. The wire on the left either needs to be soldered off the board and then back on again, cut and rejoined or the cage holding the flash tube and reflector in place to be cut open to let you take out the flash tube.

Cutting an aluminium blanking to replace the fresnel lens. 1.2mm aluminium sheet is ideal thickness. I used a standard hacksaw and metal file to finish the edges. I also tried polishing it with a dremel but results weren't good as the surface became more dull.

Blanking plate together with a piece of 32mm wide acrylic tube with 2mm thick walls cut in half. Piece is 60mm long.
Holes drilled, one is 5mm and the other 6mm. The larger hole is needed to pass the flash tube through and the smaller is perfect size to use the rubber retainers to protect the wires.


All fitted back together. I elected to cut the wire and solder it back together to avoid soldering on the PCB. This may increase resistance and decrease flash power slightly but I took that chance instead of risking ruining the flash. Rubber retainer has been cut in half as otherwise it wouldn't fit and the pieces are held in place with a bit of electrical tape on the backside. The white plastic basket holding the flash tube and reflector may need some bits snipped out of the sides to leave enough space to pass the wires up. Acrylic tube was glued on with epoxy glue as it would bond better between the uneven edge of the acrylic and the aluminium than super gluing (some poor sawing by me).
Total cost - about £5 with offcuts and epoxy glue off ebay and I still have enough parts to do another three flashes. It took about three hours in total as I was trying things as I went along and I don't have anywhere proper to work on these projects. If you have a normal work bench and know what you are doing I'm pretty sure you could knock one out in half an hour or so.
Now for pictures (first is clicky for all the pictures in the series):
Bare bulb modyfiying the Yongnuo YN-560 III flashThe flash before modding it. Please be aware that you could potentially electrocute yourself doing this if you don't know how to make sure the capacitor is empty. You could obviously ruin your flash as well, don't blame me in either case.
Taking off the side strips of rubber and metal clamps holding it in place
Completely disassembled. The wire on the left either needs to be soldered off the board and then back on again, cut and rejoined or the cage holding the flash tube and reflector in place to be cut open to let you take out the flash tube.
Cutting an aluminium blanking to replace the fresnel lens. 1.2mm aluminium sheet is ideal thickness. I used a standard hacksaw and metal file to finish the edges. I also tried polishing it with a dremel but results weren't good as the surface became more dull.
Blanking plate together with a piece of 32mm wide acrylic tube with 2mm thick walls cut in half. Piece is 60mm long.
Holes drilled, one is 5mm and the other 6mm. The larger hole is needed to pass the flash tube through and the smaller is perfect size to use the rubber retainers to protect the wires.
All fitted back together. I elected to cut the wire and solder it back together to avoid soldering on the PCB. This may increase resistance and decrease flash power slightly but I took that chance instead of risking ruining the flash. Rubber retainer has been cut in half as otherwise it wouldn't fit and the pieces are held in place with a bit of electrical tape on the backside. The white plastic basket holding the flash tube and reflector may need some bits snipped out of the sides to leave enough space to pass the wires up. Acrylic tube was glued on with epoxy glue as it would bond better between the uneven edge of the acrylic and the aluminium than super gluing (some poor sawing by me).
Total cost - about £5 with offcuts and epoxy glue off ebay and I still have enough parts to do another three flashes. It took about three hours in total as I was trying things as I went along and I don't have anywhere proper to work on these projects. If you have a normal work bench and know what you are doing I'm pretty sure you could knock one out in half an hour or so.